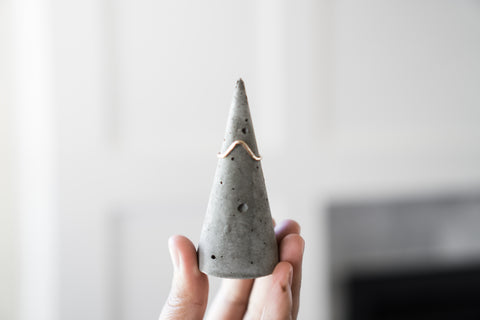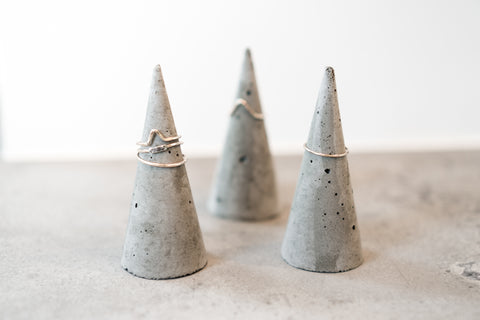
I have never been much of a jewelry-wearer but I do love my stackable rings, and I'm always on the lookout for some way to display my rings in a clean and simple way when I'm not wearing them. As with most things around my house, when I can't find what I'm looking for I just make it myself. These modern, minimalist concrete ring holders create the perfect display for my Land of Salt stackable rings.
TIME:
45 minutes; 2 days drying time
COST:
$14 for supplies (assuming you have the tools needed)
Supply Cost Breakdown:
$7 - Contact Paper
$4 - Clear Packing Tape
Plastic Mixing Cup
Plastic Cup
TOOLS:
Scissors
Pen/Marker
STEPS:
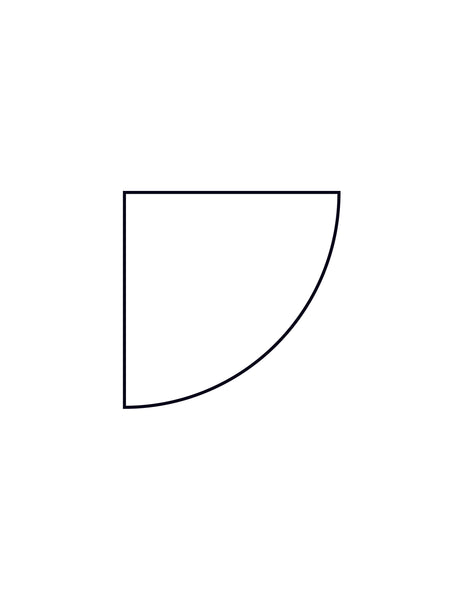
1. Use the template below or create your own. Right click, save and print at 100% on plain paper. Cut out the template and use it to trace your contact paper.
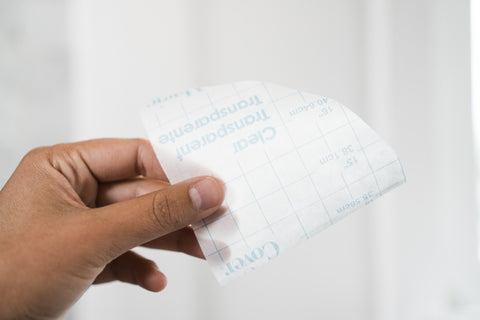
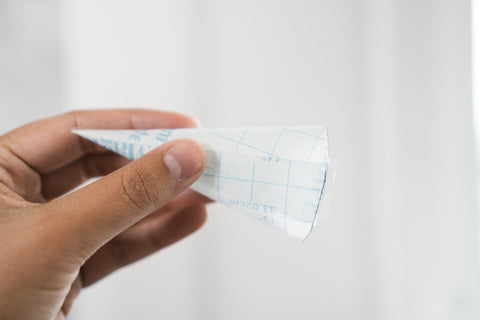
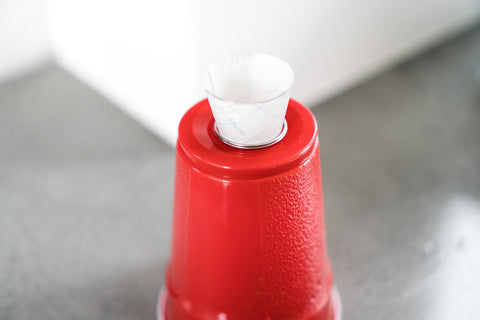
2. Roll the contact paper into the shape of a cone, with the printed side out. Overlap the edge by about an inch and peel back the sticky part of the contact paper to stick it to the other edge. Use a piece of packing tape on the outside to really secure the cone.
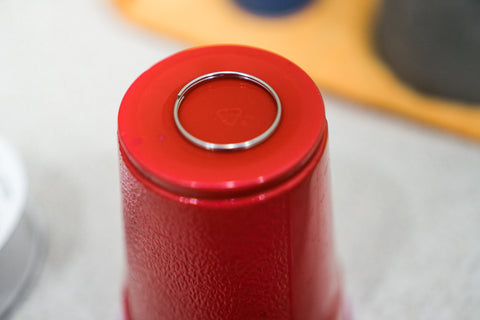
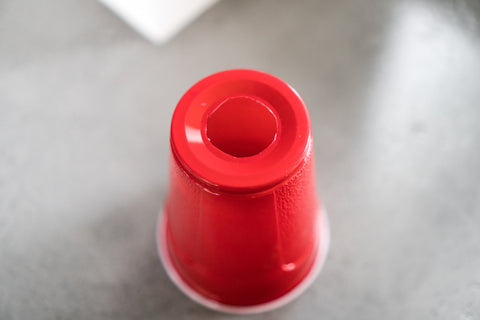
3. Take your key ring and x-acto knife and cut out a hole in the bottom of the plastic cup, just barely smaller than the key ring. Place the key ring over the hole and drop in the pointed side of the cone. The ring will help keep a perfectly round shape once the concrete is poured.
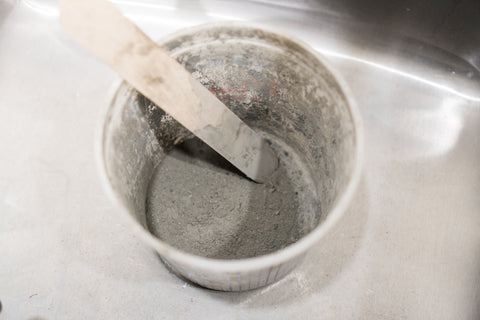
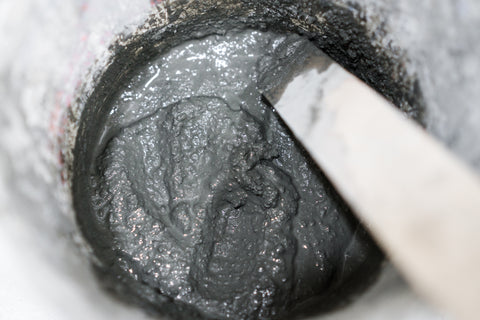
4. Mix concrete with just a small splash of water. Continue to slowly add water until you have almost a peanut butter consistency. The runnier is it, the weaker your cone will be. The thicker it is, the more holes you will have in your cone. You'll have to find a good balance here between too much and too little water.
5. Pour the concrete into the cone a little bit at a time, shaking and settling the concrete before each time you add more. This will help reduce air pockets.
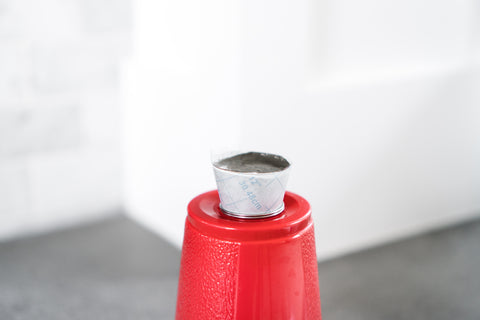
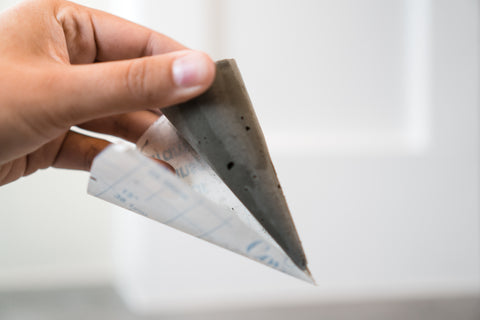
6. This is the most difficult step for me - waiting. Some people will say wait overnight, some will say wait 24 hours. I find it best to wait at least 2 days for the concrete to fully set. This will help reduce the chance of the tip of the cone breaking off. Once the concrete has turned a lighter gray color and looks completely dry, carefully unwrap the contact paper. From here you can leave it as is, you can paint the concrete, or you can use a satin sealer on the cone.
If this looks like a little more work than you want to put into a ring holder, you can purchase a completed Concrete Ring Holder through my online store. Have fun and let me know how it turns out!